

Garages often serve multiple purposes. From being a shelter for our cars to being a DIY workshop or even a leisure room, it's a versatile space. However, a key element of a functional and aesthetically pleasing garage is often overlooked: the garage flooring. Particularly, garage floor tiles have become a popular choice due to their durability, aesthetic appeal, and easy maintenance. So, if you’re looking to upgrade your garage floor, here is a comprehensive guide on how to install garage floor tiles.
Understanding the Importance of Garage Flooring
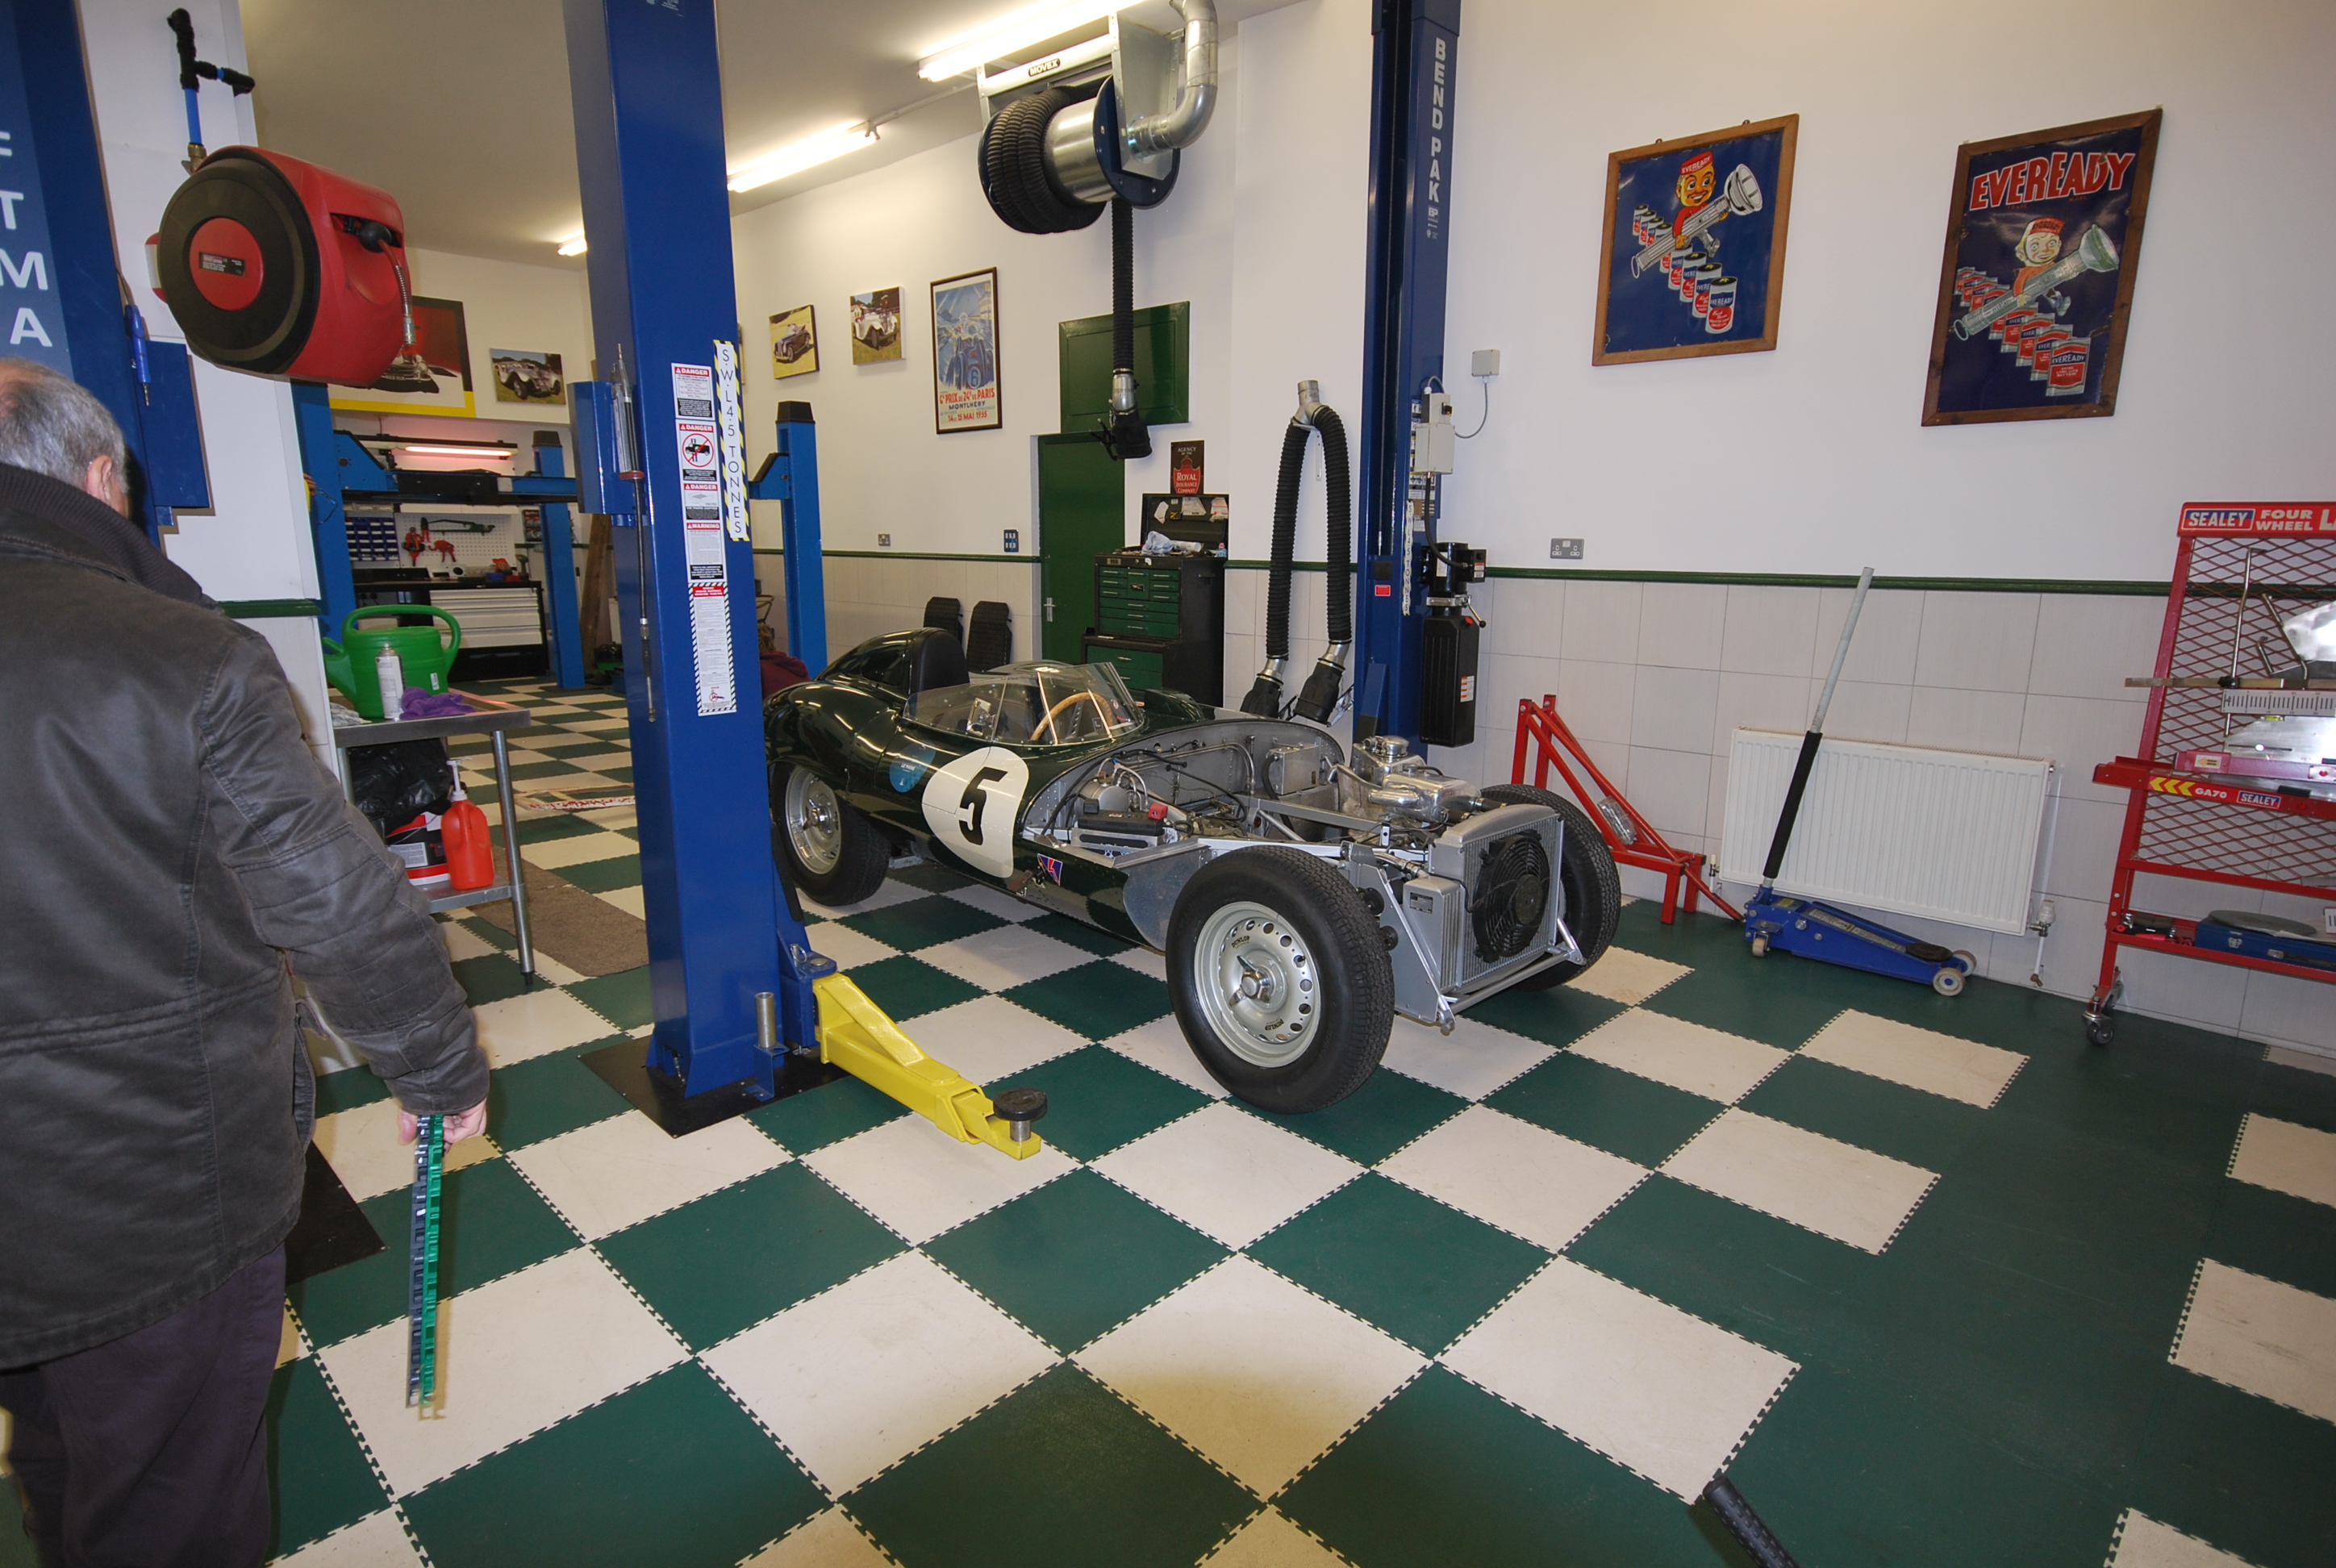
When it comes to garages, we often fail to recognise the immense load our garage floors bear. The flooring endures substantial wear and tear, from supporting heavy machinery and vehicles to withstanding spillages of oil and other fluids. Thus, it's paramount to have a resilient and sturdy flooring solution. Among various options, garage floor tiles, and more specifically, interlocking garage floor tiles, have proven to be a robust choice. Not only do they provide the requisite durability, but these tiles are also incredibly user-friendly when it comes to installation and maintenance. On top of their practicality, garage floor tiles don't compromise on style. With a vast array of colours and designs to choose from, you have the freedom to tailor your garage floor to suit your personal taste and the overall decor of the space.
The Selection Process of Garage Floor Tiles
The journey towards an impeccable garage floor begins with selecting the ideal garage floor tiles. It's crucial to remember that tiles for your garage floor are available in a myriad of materials, each offering unique perks. Take PVC garage floor tiles, for instance. They're renowned for their effortless cleaning process and remarkable resistance to oil, chemicals, and other stubborn stains. On the other hand, rubber tiles are hailed for their superb grip, whilst plastic tiles win accolades for their lightweight nature and uncomplicated installation process.
Tools Required for Installation
As with any DIY task, embarking on the installation of your garage floor tiles demands some essential apparatus. The toolbox you need to assemble includes a reliable rubber mallet, a Jigsaw/Bandsaw, Guillotine or a utility knife with a concave blade for cutting tiles to size, a tape measure to ensure accurate fitting, and a pair of gloves to protect your hands during the process. If you've opted for interlockable floor mats, it would be beneficial to have a dead blow hammer at your disposal. This tool will help secure the tiles into place, reinforcing the stability of your new garage flooring. Alternatively, we have a tile-laying kit.
Preparing Your Garage Floor
The first step towards a successful installation of your garage floor tiles is to ensure a clean and prepared canvas for your work. Start by giving your garage floor a thorough cleaning. It's essential to eliminate any loose impediments, high points and fill in any holes with a suitable repair compound and smooth out any uneven patches and repair any visible damage to the floor. Remember, the surface has to be not only clean but also dry and perfectly level. This is vital to ensure that your tiles fit neatly and provide a uniform appearance. The key to a flawless installation is in the preparation. So, don’t rush through this stage. Taking the time to meticulously prepare your garage floor will lay a solid foundation for the new tiles and contribute significantly towards a successful renovation of your garage.
The Actual Installation of the Tiles
Kick-off the real work by first organising a dry run of the layout. This involves placing the tiles on the floor without engaging the interlocking mechanism, giving you a visual preview of the final outcome. It is extremely important that the tiles are kept square during the installation process. Every room has a different starting point, but If you can, identify a straight wall or edge to work from and snap a straight chalk or laser line about 1-1.5m away from the wall. Having mapped out the desired arrangement, it's time to start interlocking the tiles. Use your reliable rubber mallet to lock the tiles securely in position. Corners or edges may necessitate specific adjustments. In such cases, make sure to accurately measure the available space and use your utility knife to cut the tiles to the appropriate size. This step is crucial to ensure a snug fit and a neat finish, with no awkward spaces or protrusions. Remember, the process requires patience and precision, but the reward will be a sturdy, attractive garage floor that elevates the overall appearance of your space.
Cutting the Tiles
- To make a cut turn the tile over and place it on top of an installed tile. Push the tile against the wall or object.
- Each tile has a small square marker in each corner, now using the edge of this marker as a guide, mark the tile you are cutting with a pen. Do the same on both sides.
- Join the two markers together with a metal ruler to create a cutting line. Cut the tile using your preferred method. When the tile is flipped. It should fit leaving a 5mm gap between the edge of the tile wall.
- Continue the process until you have completed the remaining cuts.
- Pro tip! We recommend you finish the edges with caulk or skirting boards.
The Finishing Touches
Having installed all the tiles, now is the time to peruse your work with a keen eye for detail. Identify any tiles that may feel loose underfoot or appear uneven and rectify them as needed. Additional refinements such as the integration of a ramp edge or a border could provide that extra touch of finesse. These added elements not only contribute to a smooth transition from the garage door to the newly tiled floor, but they also enhance the visual appeal of your garage flooring. The aim here is to achieve an impeccably finished look that exudes both durability and elegance. Remember, these are your finishing touches, so give them the attention they deserve. Be patient, meticulous, and remember that perfection lies in the details.
For more information on A Comprehensive Tutorial: How to Install Garage Floor Tiles talk to GaragePride Limited